
Robot Annihilation DirectX Project
- jnaso29
- Jul 27, 2019
- 8 min read
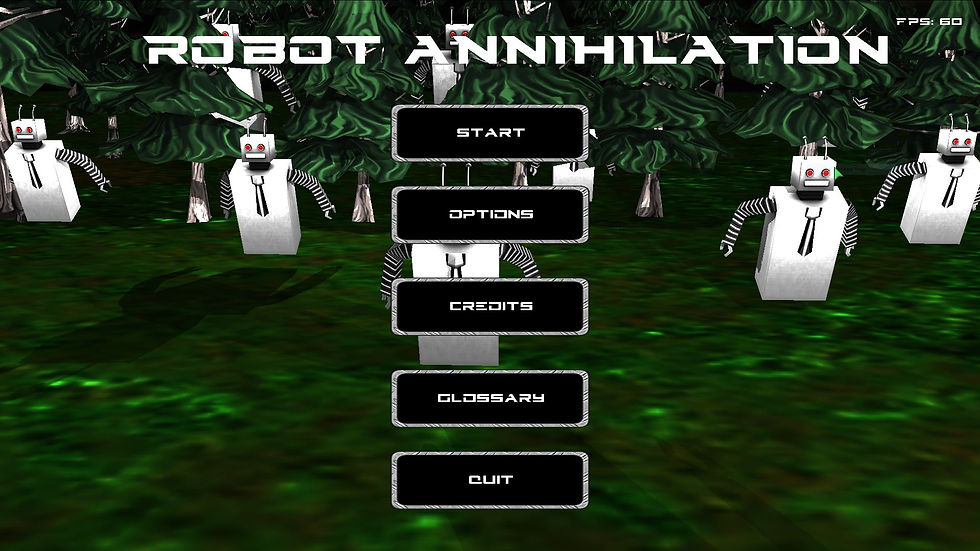
What it is: Robot Annihilation is a third person arena shooter where the player fights endless waves of enemies to achieve a top score. This game was made in four months by me an two other full sail students in a custom game engine we created with DirectX 11. My main responsibilities in this game were creating the graphics pipeline, writing shaders, building all enemy AI, making the particle system, and implementing physics colliders.

Part 1: The Graphics Pipeline The first and perhaps most crucial thing I worked on was creating the graphics pipeline that would allow us to import 3D objects into our game. The first step to doing this, was to create a DirectX class that would handle initializing and setting all the DirectX objects. The class would create the device, deviceContext, swap chain, depth/stencil buffer, etc. This class also contained several helper functions to make drawing each frame easier such as: clearing the screen, changing the raster state, swapping the front and back buffer, releasing the objects, etc. After this class was made, I then created a graphics class to encapsulate the DirectX class as well as bring in my teammate Tyler’s model class. The model class would import the vertex and texture data from a .fbx file so we could render it in the graphics class. The graphics class contained a DirectX class object, a vector of model class objects, and a shader manager class instance that was used to switch between shaders when drawing each object. Combing these three components into one class kept our code much cleaner and made drawing new objects super easy.
Part 2: Writing Shaders As our projects main graphics programmer, it would also be my job to handle all the shaders in our game. Each shader would have its own class that would contain its vertex shader, pixel shader, constant buffers, input layout, and if applicable a sampler state. Each class would have its own functions to initialize the shaders and other objects, update the constant buffers, set the shader, and release all the objects from memory. Using all these shaders in the graphics class would be messy so I instead made a shader manager class that had functions to set each of the different vertex and pixel shaders. This would give us full control over which shaders were called for each object without having a ridiculous amount of objects in the graphics class. As for the shaders themselves, I wrote a basic vertex shader that places objects in projection space, an animated vertex shader that updates the object position based on its animation before putting it in projection space, and a billboarding vertex shader that would be used primarily for particles. I also wrote a pixel shader that calculated spot light, point light, directional light, and specular light reflections off an object based on light data passed into the constant buffer as well as a more simple pixel shader that uses a light map texture to simulate light calculations being performed. The more simple pixel shader was used for objects that were far away that didn’t need a lot of detail. I wrote all these shaders in HLSL and made a light class that serves as a container for the light data to more easily pass it to the pixel shader’s constant buffer. Writing shaders was one of the most fun and rewarding things I did throughout the whole project, and I thankfully ran into very few problems with the shaders throughout the project.

Part 3: Enemy AI
The AI in our game was super fun to write as we wanted the enemies to be a little mindless in order to enforce to the hectic nature of our game. The first enemy I made was the melee enemy. This enemy would chase after the player and attack when in range. Getting the enemy to follow the player was easy, I just took the players current position and subtracted it from the enemies current position(the positions were stored as float 3s). The enemies had a bool that determined when they should attack, and this bool was set to true when they got within a certain distance from the player. The enemies also had floats for their health, speed, and damage which were all determined by the round number; the later the round the greater their health, speed, and damage would be. And that’s it for the melee enemies, Tyler’s rigid body system helped bring them to life as explosions made them fly into the air and crash into each other.
The next enemy I made was the bomb enemy. This enemy would chase after the player just like the melee enemies but instead of attacking it would explode in the players face causing the player and any nearby enemies to go flying and be damaged. The way I implemented the bomb enemy was very similar to the melee except that instead of attacking when it was in range it had a bool for about to explode. When this bool was true it would be passed into its pixel shader so a bright red ambient light would be a visual cue for the enemy about to explode. A ticking sound would play while a timer was decremented in enemy’s update function. When the timer reached 0, the bomb enemy exploded and added a force to all nearby entities as well as create an explosion effect at its position.
Having two ground enemies that chase you around caused the gameplay to feel a bit repetitive, the flying enemies in our game countered this by not chasing after the player and instead shot projectiles from a distance. These flying enemies come in three types: a sniper that was super accurate but shot very slowly, a chain gun that shot really fast but was very inaccurate, and a rocket launcher that is slightly accurate and shoots a rocket that explodes on impact. All three of these enemies generate random positions in the air to fly to so they’re always moving. I also used Tyler’s rigid body system to make them fall to the ground when their health got low.
I created an enemy manager class that would store the enemies in a vector that the game manager could easily access as well as call all the necessary enemy functions as the game went on. In this class’s update function, it performed separation calculations with the obstacles and other enemies to ensure the melee and bomb enemies didn’t walk through obstacles or each other. Having this vector of enemies also made it really easy to apply forces to the proper enemies when explosions happened.

Finally, we wanted to mix up the gameplay a bit by having a boss that appeared every three rounds. The boss we came up with was a spider that could shoot webs at the player, poison the player, and climb trees. Each of these moves would be its own state and I would set these states to active based on the boss’s health, the amount of time the boss has been in its current state, and its distance from the player. The code for this boss was primarily built off of the other enemies as mechanics like firing projectiles at the player and getting an AI to maneuver across the map were already in place. The only thing that had to be made from scratch was giving bools to the player to signify when they’re webbed or poisoned. These books would become active based on the what type of projectile the player was hot with, and became inactive after a period of time. After my teammate James finished the UI for the boss’s health bar, it was ready for implementation.
Part 4: Particle System Out of all the things I was tasked to do during the project, making the particle system was by far the most intimidating. But once I broke it down, I found it to be incredibly fun to work on. The first step was to decide what variables my particles would need. I decided to I close a float3 for the position, velocity, and color, a float for the lifetime, and a bool to determine if it was active in the particle pool. I created a particle struct to encapsulate this data and a particle system class that contained the struct. This class would also has a float3 for emitter position and particle deviation, as well as an int for the max amount of particles along with an array of particle struct objects. This class contained a vertex and index buffer to passed into its shaders. To emit particles, I check if the current amount of is less than the max and if enough time has passed since the last particle spawn(to ensure that all the particles don’t spawn at once). I initialize each particles position by setting it equal to the emitter position plus a random float3 times the deviation. In the update, I add each particles velocity to their current position and decrement their lifetime by one if the particle is active. I also check if each particles lifetime is less than or equal to 0 and if so I set it to inactive. I loop through the active particles and make a square out of each of them and pass that into the vertex buffer since they’re all going to be textures. I also perform billboarding in the vertex shader for the particles so they always face the screen. This class was super optimal as I was able to make a ton of different effects such as explosions, snow, and hit effects.

Part 5: Collision Detection For some reason, I was expecting collisions detection to involve some incredible complex math. But once I began creating my collider functions, it quickly became apparent that collision detection is very straight forward. The first step to creating collision detection was to decide which colliders I wanted. For the sake of simplicity, I decided that the basic sphere and AABB colliders would be sufficient enough for our game. The sphere only contained two floats for the center and radius while the AABB contained a float for the center, a float3 for the dimensions, and two float3 functions that return the maximum and minimum points of the AABB. The first collision function I wrote was sphere to sphere collision. This function calculated the distance between the two sphere’s center using distance formula, calculated the sum of the two spheres’s radii, and checked if the distance is less then the radio sum. For the AABB to AABB collision check, all I had to do was check if their min and max points overlap. The final collision check is AABB against Sphere. The algorithm for this collision check involves adding the squared excess from the sphere center and the AABB center and checking of that distance is less than the squared radius of the sphere. Despite all my thoughts that collision detection would be very complex, I was surprised at how simple these functions were to write.

Conclusion I had an absolute blast making this game. This project really made me fall in love with AI and graphics programming. Making a game in a custom engine is a challenge I think every game developer should try to take on. I have a new found respect for what it means to make a video game and new found confidence in myself as a game developer. If you want to download the game you can do so here: https://drive.google.com/open?id=1ftJ8mrno5H7nzK3cs8oJ8IsA8Kx-0ATc
and if you want to just watch some gameplay you can do that here: https://youtu.be/Mo7_wOrPTIc

Comments